
How to Care for Hair Extensions Before Your Wedding: Step-by-Step Guide

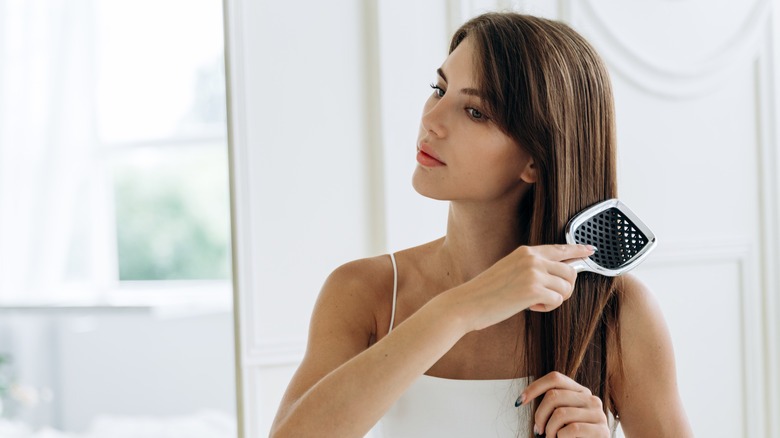
Getting extensions is one conversation. Getting them to the wedding in peak condition is another one entirely, and it’s a conversation that happens surprisingly rarely.
Most brides leave their extension appointment with a basic care sheet and a product recommendation. However, you also need to know: how to keep your extensions in perfect shape through weeks of wear before getting to the wedding day.
This guide covers that approach: how to care for your extensions from the day they’re applied through the morning of the wedding, what you should do the week before, and how to set yourself up so your stylist has the best possible surface to work with when the day arrives.
If you’re still deciding which extension type you want, that conversation is in the bridal hair extension types and costs guide and theclip-in vs tape-in vs hand-tied comparison. This guide assumes you’ve already made that decision and you’re focused on what comes next.

Why Extension Care Before the Wedding Matters
The quality of your extensions on the wedding day is directly related to how you’ve treated them in the weeks before. This isn’t about perfection; it’s about understanding the specific ways extension hair differs from natural hair and adjusting accordingly.
What Can Go Wrong Without Proper Care
Extensions that haven’t been cared for correctly show up to the wedding morning in a few recognizable ways. Matting or tangling at the bond area, which can take 20 to 30 minutes to detangle before styling can even begin. Extension hair that has been over-treated with heavy conditioning products and has become too slick to hold a curl or a pin. Tape-in bonds that have been weakened by oil exposure and are starting to slip. Color that has faded or changed because the extension hair was exposed to products that accelerated the fade.
The extensions are dry and brittle, showing clear signs of breakage, fly-aways and frizz.
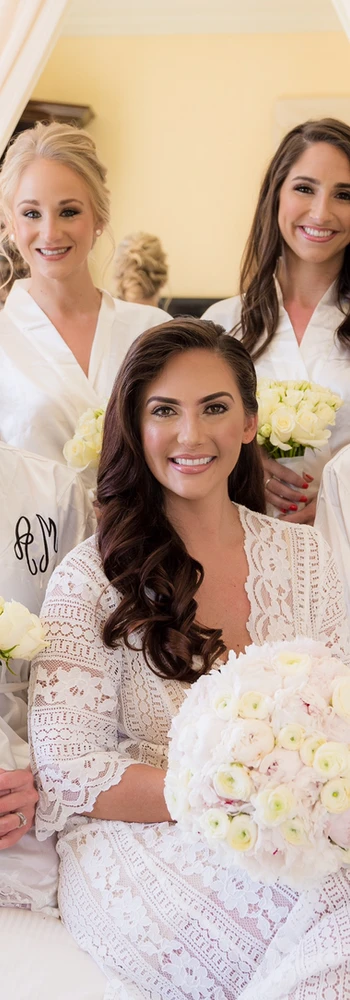
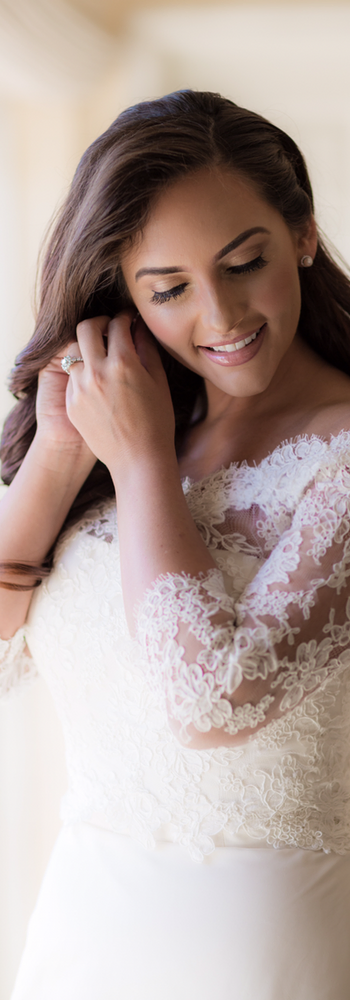
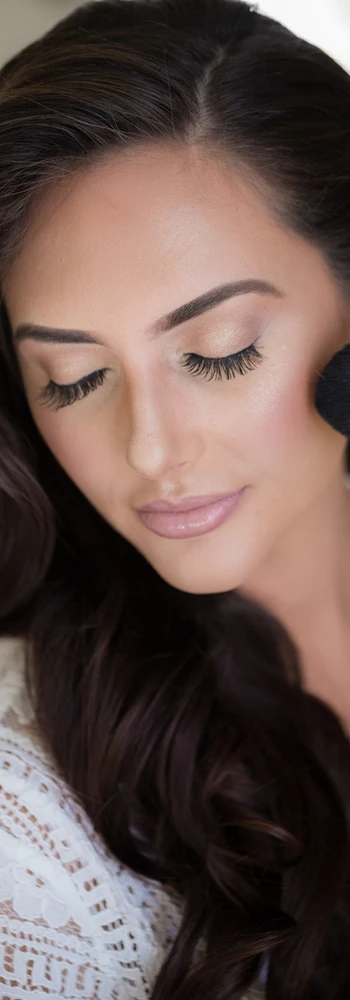
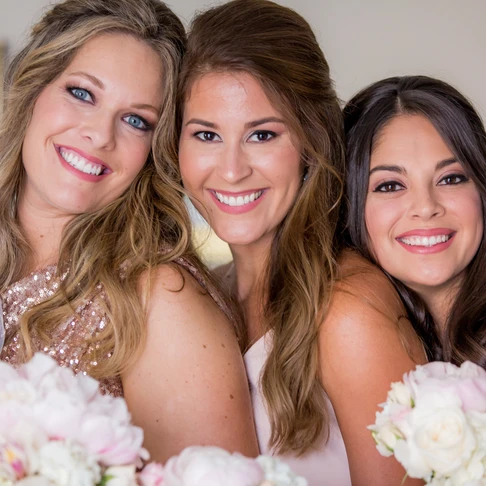
None of these problems are unfixable, but they all eat into the morning timeline and add stress to a day that doesn’t need more of it.
The Goal: Arriving at Your Wedding Day Appointment With Extensions in Peak Condition
When you sit down in the stylist’s chair the morning of your wedding, the ideal state of your extensions is: clean and dry, free of product buildup, properly detangled, moisturized and soft. This is ideal for your stylist to work with and your wedding day hairstyle will come out more polished, perfect and beautiful instead of dry, damaged and frizzy.

Washing Your Extensions Correctly
Washing is the most important part of extension maintenance and also the area where the most mistakes happen.
Clip-In: When and How to Wash Them
Clip-in extensions don’t need to be washed after every use. I encourage my brides to wash their clip-in’s after about 3 uses or whenever you notice product buildup or dry, dull looking hair.
To wash: remove the clip-ins from your hair before washing. Fill a basin with cool water and a small amount of gentle, sulfate-free shampoo. Submerge the wefts, holding onto the clip area and gently work the shampoo through in a downward motion from the weft toward the ends. Just a gentle rub with shampoo to remove any product in the extensions is good. Do not rub vigorously and no need to scrub the clips themselves.
Rinse thoroughly, apply a light conditioner from mid-shaft to ends and let the conditioner sit on the extensions for a while. 10-20 minutes is great as this acts like a hair mask for them and will replenish lost moisture. Rinse again, and gently squeeze (don’t wring) excess water out. I also recommend spraying them lightly with a good leave-in conditioner. Clip-in’s don’t get oil from your scalp like other extensions so keeping them moisturized and hydrated is your number one priority. Lay flat on a clean towel to air dry, or use a hair dryer on cool to medium heat.
**PRO TIP: Once they’re dry you can apply a small amount of oil or serum (a little goes a long way) to the ends of your extensions. This will keep them hydrated and polished for next time’s use.
Store clip-ins flat in a soft case or their original packaging. Don’t hang them by the clips or roll them.
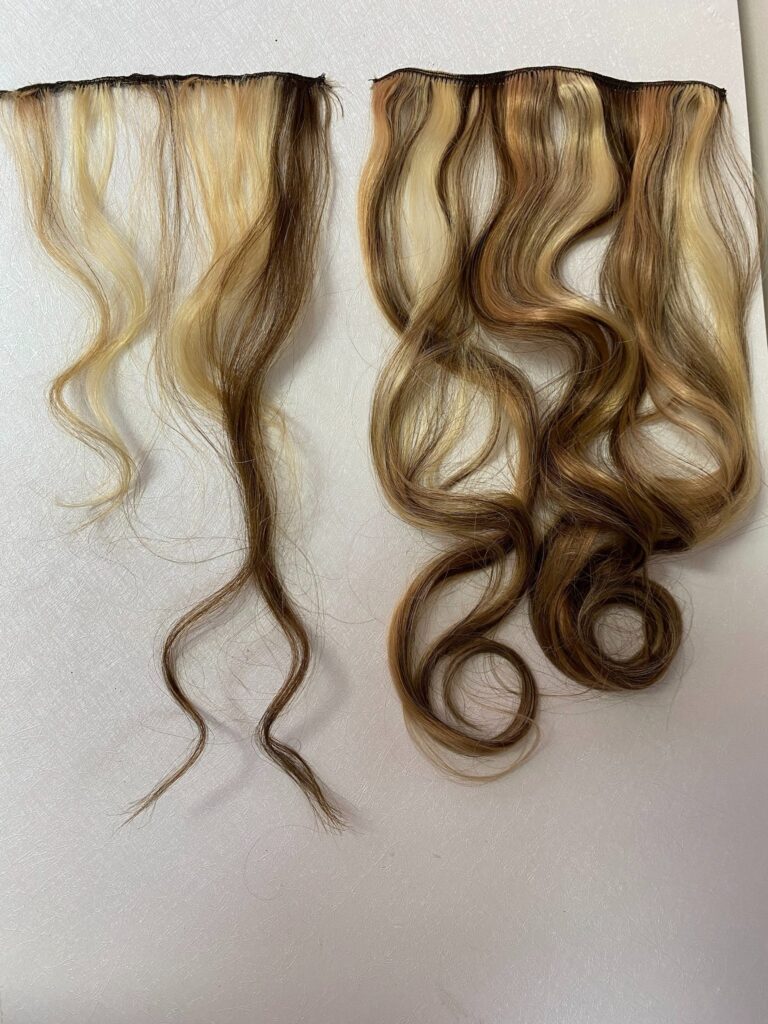
The extensions on the left in this photo are damaged and show severe breakage due to brushing, not properly taking care of them, too high of a heat setting and dryness. The ones on the right are what they originally looked like
Tape-In: Frequency, Products, and Technique
Wash tape-in extensions 2 to 3 times per week maximum. Many brides who are used to washing their natural hair daily find this adjustment difficult, but over-washing is one of the primary causes of early tape bond failure and dry, brittle extension hair.
Use a sulfate-free shampoo exclusively. Sulfates break down the tape adhesive faster than anything else. Even one wash with a sulfate-containing formula can noticeably affect the bond integrity over time.
Shampoo technique matters. Apply shampoo to the scalp area first and work it in with your fingertips (not your nails) in a downward, gentle combing motion rather than a circular scrubbing motion. Let it rinse through the length rather than rubbing it into the tape areas. Above all, never rub the tape rows aggressively.
Condition from mid-shaft to ends only. Never apply conditioner, conditioning masks, or deep conditioners directly to the tape bond area. Conditioner applied to the bonds weakens the bond and this is when slip happens or pieces fall out.
Hand-Tied Weft: The Washing Protocol
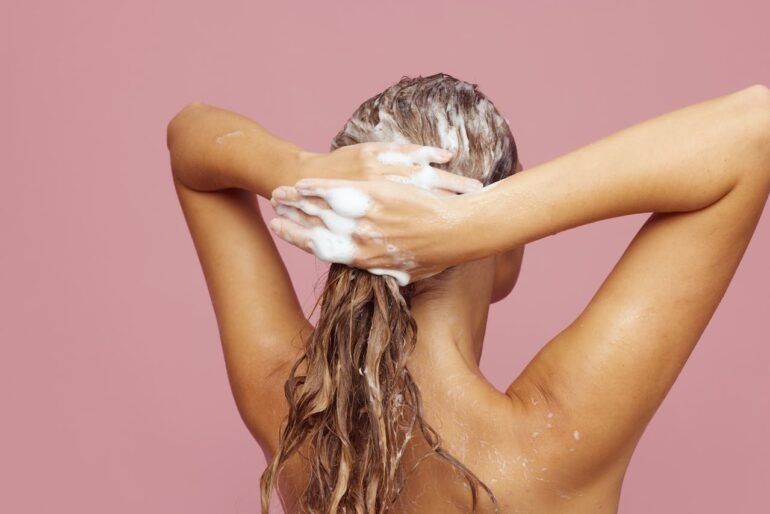
Hand-tied wefts have no adhesive to protect, so the washing rules are less restrictive than for tape-ins. Wash 2 to 3 times per week with a sulfate-free or extension-safe shampoo, and condition from mid-shaft to ends. The beaded row area should be cleaned gently but doesn’t have an adhesive component to worry about.
The main care consideration for hand-tied extensions during washing is avoiding tangling at the bead row as the hair dries. use the correct brush (covered below), and a moisturizing leave-in conditioner like my favorite “It’s a 10” here.
Shampoo and Conditioner to Use vs. Avoid
Use: sulfate-free, paraben-free shampoos formulated for color-treated or extension hair. Look for formulas specifically marketed as extension-safe or bond-safe.
Avoid: sulfate-containing shampoos (most drugstore shampoos contain sulfates, listed as sodium lauryl sulfate or sodium laureth sulfate), shampoos with high alcohol content, clarifying shampoos used at full strength, and any 2-in-1 shampoo-conditioner products near the bond area.
For conditioner: lightweight, rinse-out formulas applied from mid-shaft to ends. If you want to use a deep conditioning mask, to hydrate and moisturize your extensions, apply it from midshaft to ends, avoiding the root area. and especially avoid leaving conditioning masks on for extended periods near the bond area.
Drying Extensions After Washing
After washing, gently squeeze water from the hair in a downward motion. Never wring or twist. Pat the hair with a soft towel, working downward. Don’t rub the bond or weft areas against the towel.
Then brush hair out gently from ends to root, being sure to avoid snagging the bond or weft.
Allow the hair to air dry partially before using a hair dryer. Apply a heat protectant before blow-drying. Use medium heat rather than high heat. On tape-in extensions, direct the airflow downward along the hair direction rather than up at the bond areas.
For hand-tied extensions, dry the bead row area with medium heat while gently separating the rows to ensure the hair near the beads is drying rather than remaining damp, which can cause matting.
Brushing and Detangling: The Right Tools and Technique
The Wide-Tooth Comb or Wet Brush for Initial Detangling
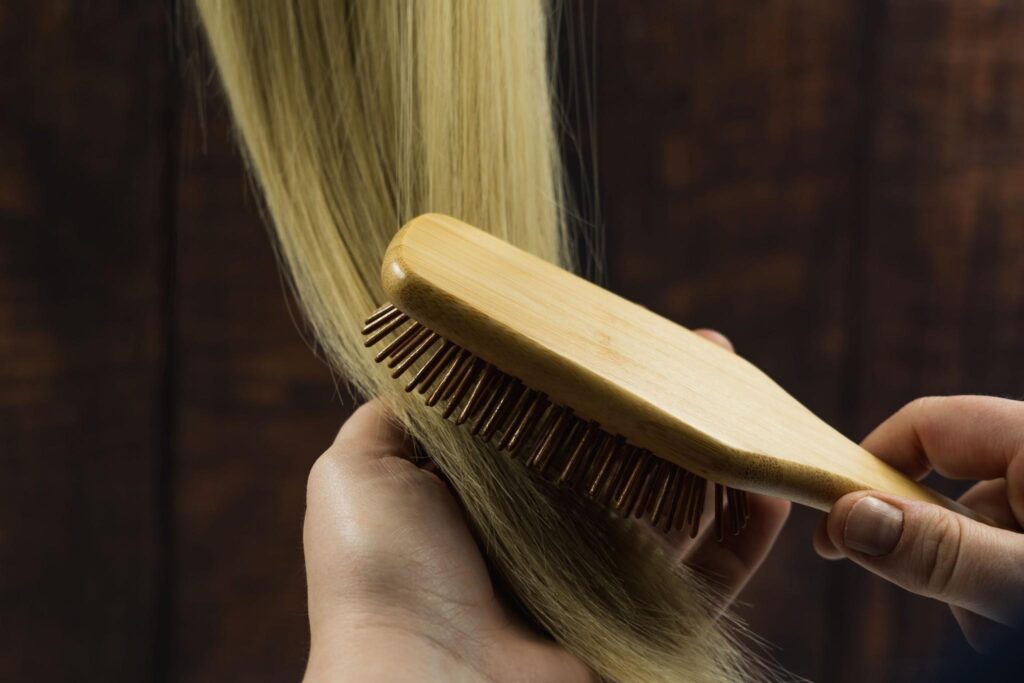
Wide tooth combs and the detangling wet brush are great for detangling and ensuring your extensions arent being brushed out too harshly. This separates the hair with far less friction than any brush and prevents the tugging at bond points that a brush can create when it hits a knot.
Start at the very ends, a few inches from the bottom. Work out any tangles in that section before moving the comb a few inches higher. Continue working upward in sections until you reach the scalp. With the other hand, hold the hair at or just below the bond point to support it and prevent pulling stress on the attachment. The Dry Bar Slide wide tooth comb and The Wet Brush Original Detangler are my two favorite! (linked above and pictured below)
The Extension or Loop Brush for Blow-Drying
After the hair is initially detangled with the wide-tooth comb, use an extension or loop brush for blow-drying and styling. An extension brush has a loop or open bristle design that moves around bond points and beads without snagging or pulling on them. A standard paddle brush with a cushioned base can catch on tape rows or beads and create force at exactly the points you’re trying to protect.
Loop brushes are specifically designed for extension hair. If you don’t have one, ask your extension specialist or stylist to recommend the specific model they use for your extension type.
Starting at the Ends: Why Sequence Matters
Starting at the root with extensions encounters every tangle in the full length of the hair and pushes it downward into a compounding knot while simultaneously pulling at the bond point above. Starting at the ends works out each tangle at the smallest scale before working upward, so by the time the brush or comb reaches the bond area, it’s moving through already-detangled hair.
How to Hold the Weft or Bond While Brushing
Hold the hair at or just below the bond, weft, or tape row with your non-dominant hand while brushing below it. This prevents the brushing action from transmitting its force to the attachment point. It’s the same principle as holding the hair at the scalp when detangling natural hair, but with the specific positioning required to protect the extension attachment.
How Often to Brush
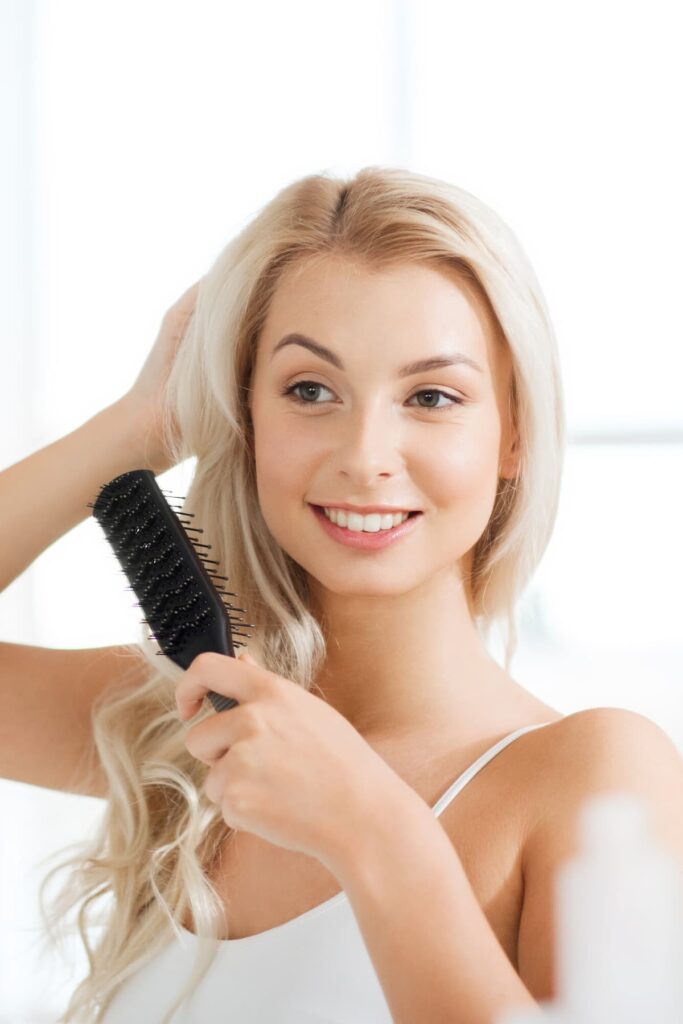
Brush or comb through the extensions at least twice daily: once in the morning before styling and once before bed. For tape-in and hand-tied extensions, regular brushing prevents the kind of tangling around the bond area that becomes a significant problem if left for multiple days.
For clip-ins removed each evening, brush them both before storing and before applying the next wearing session.
Heat Styling Extensions Safely
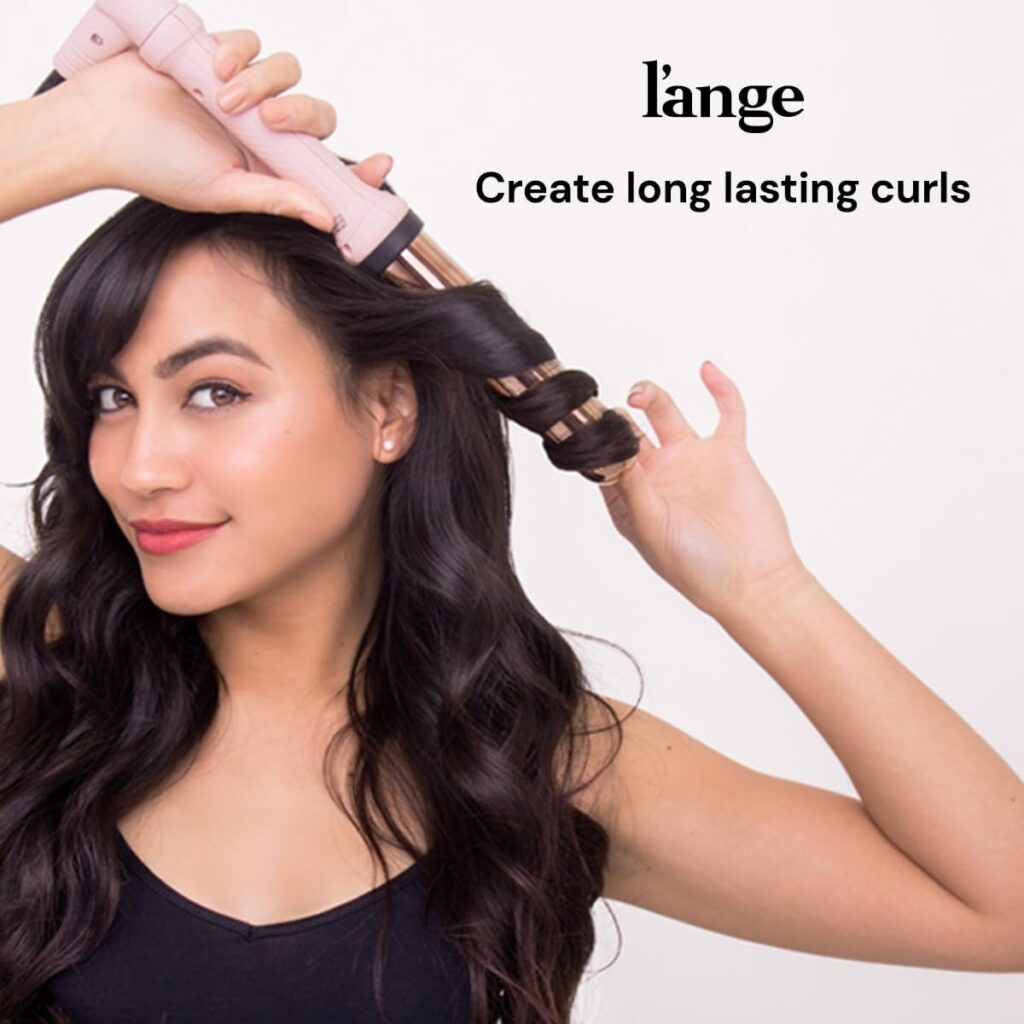
Extensions can be heat-styled. They are not immune to heat damage. The distinction matters.
Temperature Guidelines for Human Hair Extensions
Remy human hair extensions have a cuticle structure similar to natural hair and can handle heat tools up to approximately 380°F. The practical recommendation for pre-wedding care is to keep heat tools at or below 350°F. This range is effective for curling, waving, and smoothing while reducing the cumulative stress on the extension hair across the weeks of pre-wedding use.
Higher temperatures may be used for specific styling needs, but daily heat at high settings degrades the extension hair’s condition faster than lower settings, and you want the hair in its best condition for the wedding morning.
Why Heat Protectant Is More Important for Extensions Than Natural Hair
Extension hair does not receive the natural oils the scalp produces. Natural hair is continuously replenished with sebum that provides a protective layer on the cuticle. Extension hair receives no sebum and therefore has less resistance to heat. Every heat application degrades the extension cuticle slightly, and without the natural oil protection, that degradation is faster than in natural hair.
A good heat protectant, applied to the extension hair before every heat styling session, slows this process significantly. Consider it mandatory, not optional.
Tools That Are Safe vs. Tools to Use Carefully
Flat irons, curling irons, and wands: safe with heat protectant applied first and temperature management. Direct the heat away from bond areas where possible.
Blow dryers: safe with a diffuser for curl types, or with a directional nozzle for smoothing. Medium heat rather than high. Keep the dryer moving.
Tools to use with extra care near bond areas: flat irons positioned near tape rows can heat the adhesive if the iron is clamped directly over the tape. Keep irons in the mid-shaft and ends area rather than close to the bond point.
Avoid: clamping any heat tool directly over a tape row, a bead, or a keratin bond.
How Repeated Heat Affects Extension Hair Over Time
Extension hair doesn’t regenerate. Natural hair that’s been heat-damaged grows out and eventually the damaged ends are cut. Extension hair that’s been heat-damaged is damaged for its full remaining life. This is another reason keeping heat at the lower-effective range is the right choice for the weeks leading up to the wedding: preserving the quality of the extension hair matters more during this period than the marginal difference between 350°F and 400°F.
Products to Avoid (and What to Use Instead)
Oil-Based Products and Tape-In Bonds: The Critical Warning
Oil is the most effective solvent for tape adhesive. The same oils that make hair serums feel luxurious and conditioning, argan oil, moroccan oil, jojoba, coconut oil, marula oil, are exactly the ingredients that weaken tape-in bonds over time. if they get on the bond itself.
For tape-in extensions specifically: apply any oil-based products from the mid-shaft down, never near the roots or tape rows. This includes leave-in conditioners with oil ingredients, smoothing serums, heat protection oils, and overnight treatments.
For hand-tied and clip-in extensions, oil-based products are less of an attachment concern but still contribute to product buildup that makes extension hair heavy and unresponsive to styling.
Dry Shampoo Near the Roots: Why It’s Complicated
Dry shampoo applied near the roots on tape-in or hand-tied extensions deposits starch and powder at or near the bond area. Over time, this creates buildup that makes the bond area feel thickened and gummy. It also has to be washed out, which increases washing frequency and the associated bond stress.
If you use dry shampoo, apply it sparingly and wash your hair more frequently to avoid buildup.
Extension-Safe Products That Work in South Florida Conditions
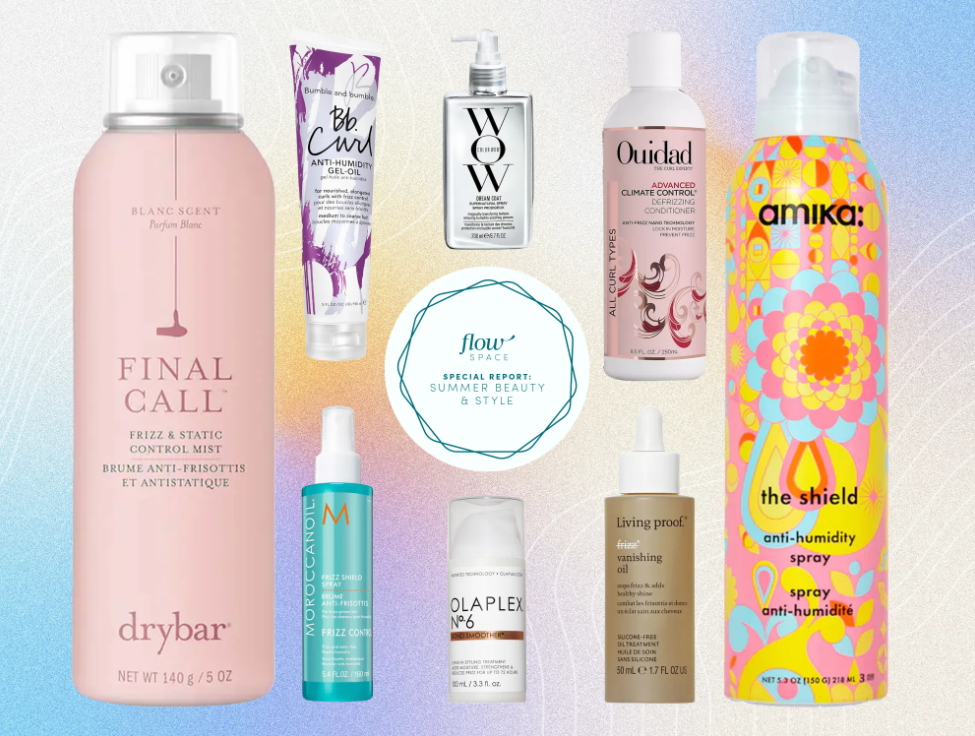
In South Florida conditions, where humidity is the primary environmental challenge, extension hair needs products that seal the cuticle against moisture absorption without relying on heavy oils or silicones.
Look for: lightweight, water-based anti-humidity sprays or serums, alcohol-free hold products that don’t create stiff buildup, and flexible-hold finishing sprays that provide humidity resistance without coating the hair heavily.
Your stylist and your extension specialist can recommend specific products for your extension type and hair situation. For more on managing bridal hair in South Florida conditions, the climate-resistant bridal beauty guide covers the full environment.
Sleeping With Extensions
The Clip-In Approach: Remove Before Bed
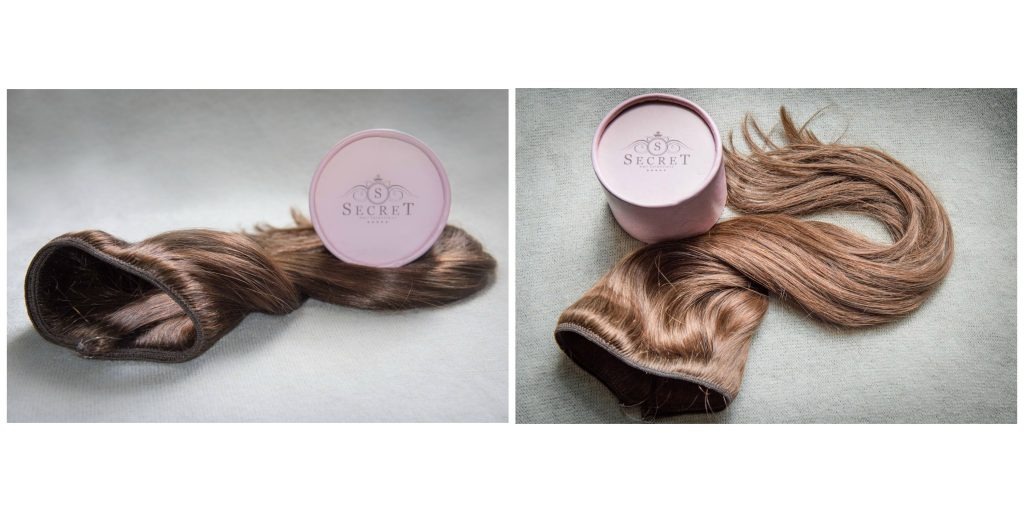
Remove clip-in extensions every night before sleeping. Sleeping with clip-ins in creates unnecessary friction and stress on the clips, increases tangling around the hardware, and puts mechanical pressure on the attachment points through hours of movement. They’re designed to be removed. Remove them.
After removal: brush them out gently, starting at the ends. Lay them flat or store them in a soft case or their original packaging. Don’t hang them by the clips or fold them.
Tape-In and Hand-Tied: Sleeping With Pre-Applied Extensions
Pre-applied extensions are in place through the night by design. The goal is minimizing friction and tangling during sleep.
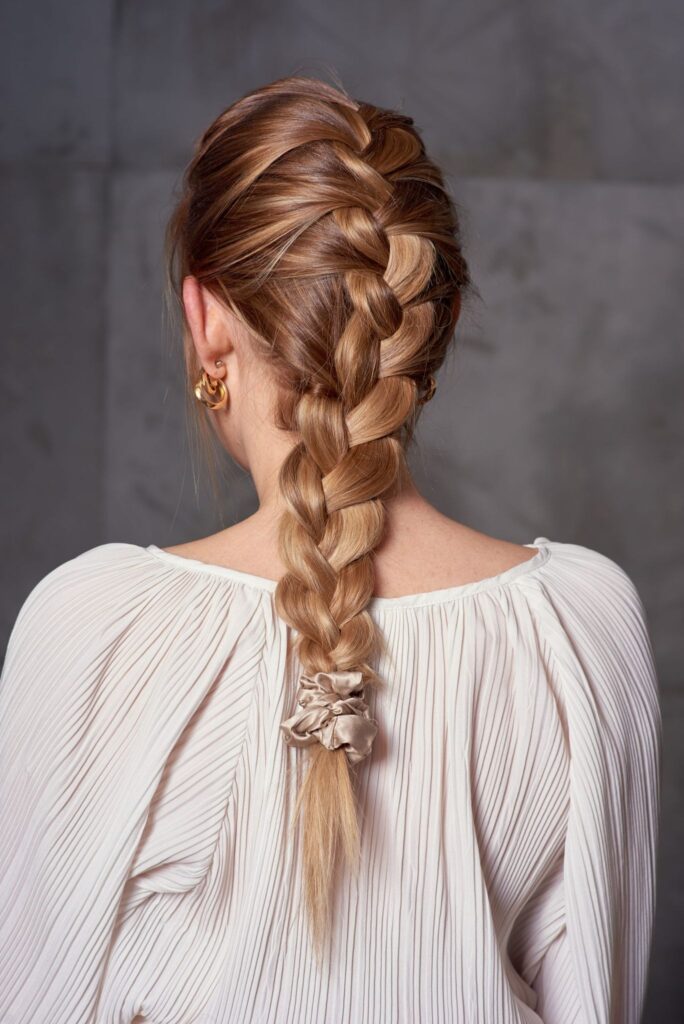
Before sleeping: gently brush through the extensions to remove any tangles. Gather the hair loosely into a low braid, a loose bun secured with a soft scrunchie (not a regular elastic band), or a series of loose braids. The goal is to prevent the extensions from moving freely against each other and against the pillow, which creates tangling around the bond areas by morning.
Don’t use tight elastics, as they create kinks in the extension hair and stress at the contact point. A silk or satin scrunchie or a spiral hair tie protects the extension hair while gathering it.
PRO TIP: Sleep on satin pillow cases. This reduces friction and frizz on your extensions tremendously.
The Braid or Loose Bun Method for Overnight Protection
A loose single braid down the back is the simplest and most effective overnight protection method for tape-in and hand-tied extensions. The braid keeps the hair organized, prevents it from spreading across the pillow, and in the morning comes undone to reveal hair that’s experienced minimal tangling overnight.
A loose low bun secured with a silk scrunchie is the second option, particularly for shorter extensions where a braid isn’t as natural a silhouette.
The key word in both cases is “loose.” A tight braid or tight bun creates kinks and pressure on the bond area. Loose enough to look like it could be decorative, but secure enough to stay through the night.
It also leaves you with a slight wave in your hair which is perfect for styling!
Pillowcase Material: Why Silk or Satin Matters
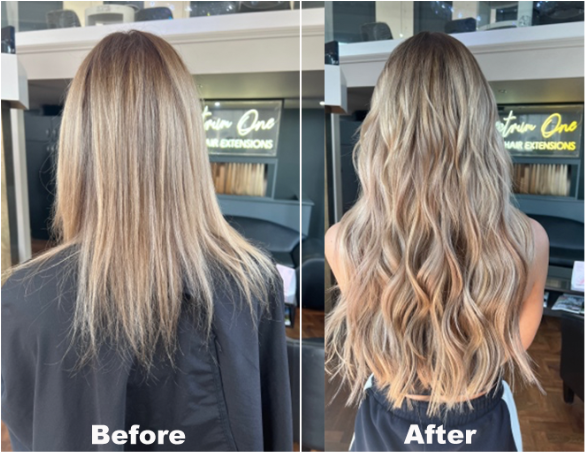
Cotton pillowcase fabric has a rough, woven texture at the microscopic level that creates friction on every strand of hair that moves across it through the night. Over a full sleeping period, that friction contributes to tangling, frizzing, and cuticle damage on both natural hair and extension hair.
Silk or satin pillowcases have a smooth surface that allows hair to slide rather than catch. For extension hair specifically, which can’t regenerate the cuticle damage the way natural hair eventually grows out its damaged ends, reduced overnight friction is a meaningful protective measure in the weeks before the wedding.
The Pre-Wedding Maintenance Appointment
When to Schedule It (7–10 Days Before)
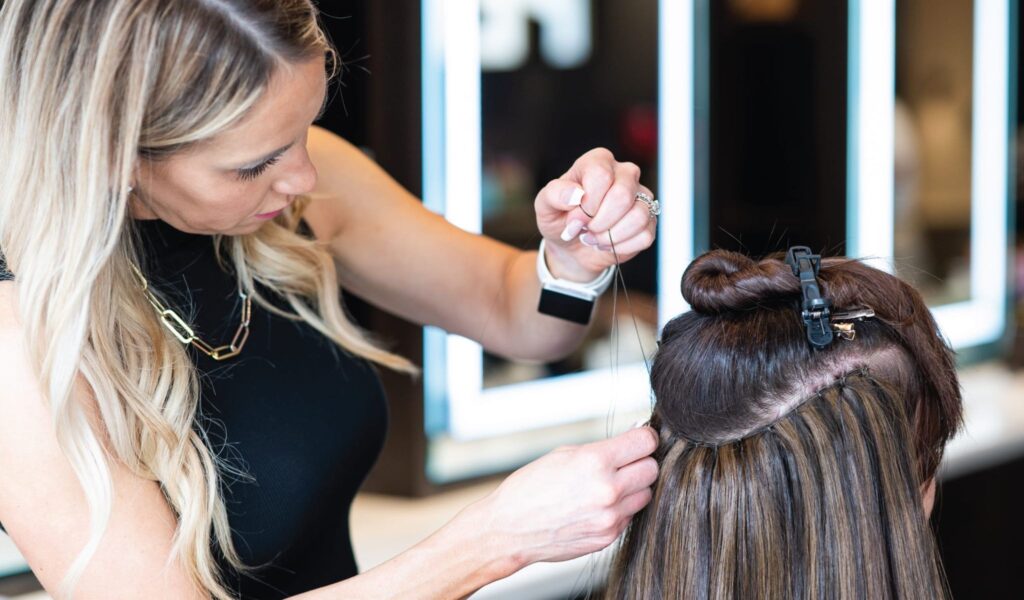
Schedule your maintenance appointment 7 to 10 days before the wedding. This timing gives the technician time to address anything they find, and gives the hair time to settle back into its optimal state before the wedding morning. A 2 to 3-day-before maintenance appointment is too close to allow for any correction if something needs addressing.
For tape-ins: the technician checks each tape bond, re-tapes any that are slipping, and assesses the overall condition. For hand-tied: the row is assessed for growth gap and tightness, and any wefts that have loosened are re-secured. A toning or color gloss refresh may also be done at this appointment if the extension color has shifted since the initial application.
What the Technician Checks and Addresses
At a pre-wedding maintenance appointment, the specialist looks at: all bond or bead attachment points for slippage or looseness; the condition of the extension hair itself for dryness, matting, or wear; the color match as the natural hair has grown and potentially lightened or darkened since the initial application; and the overall integration of the extensions with the natural hair in the current length.
Any issues found at this appointment are corrected here, not on the wedding morning.
What Happens If You Skip It
Skipping the pre-wedding maintenance appointment is a risk the consequences of which show up on the day: tape bonds that have been slowly slipping for two weeks and are now noticeably loose; a growth gap in hand-tied rows that’s visible; extension hair that has become tangled around bond areas without professional clearing. None of these are impossible to address the morning of the wedding, but they add significant time and stress to a morning that doesn’t need either.
Getting a Color or Toning Refresh If Needed
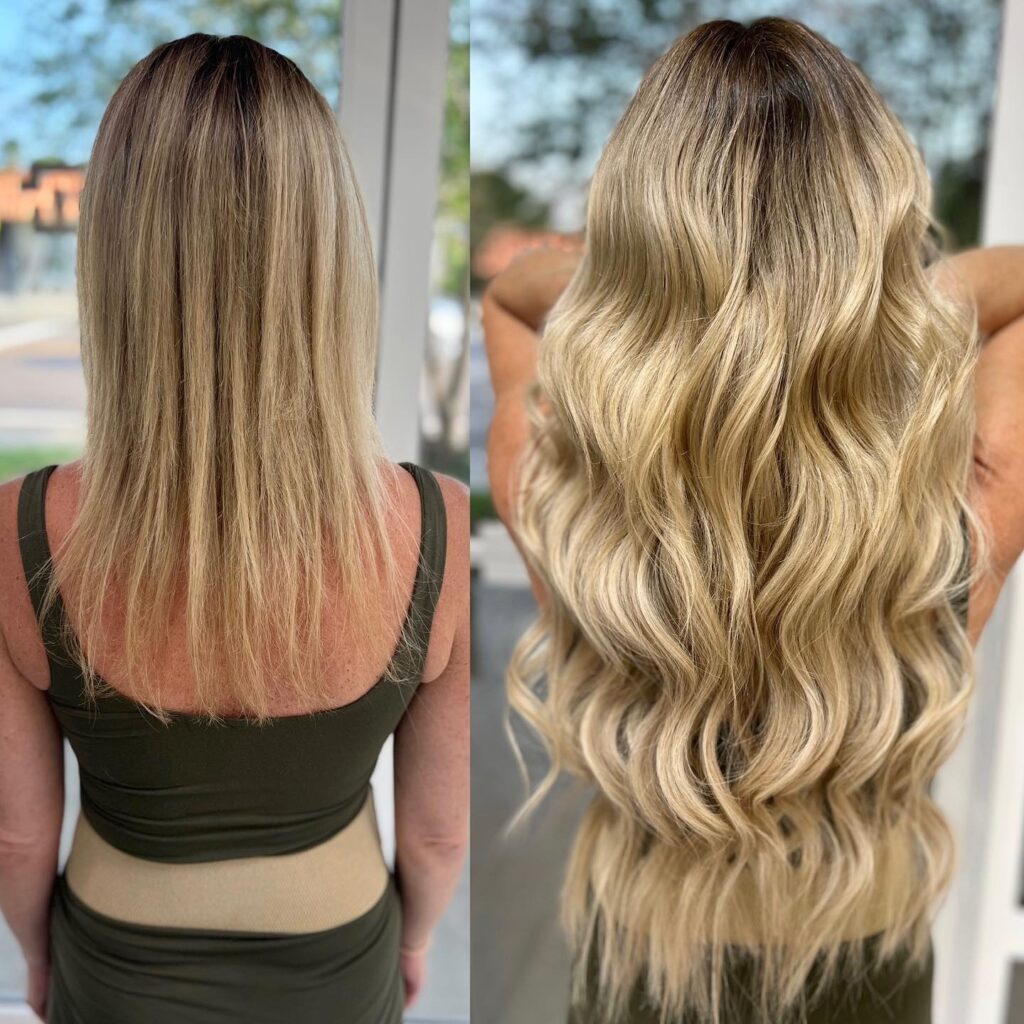
If your natural hair has been colored, toned, or has grown out significantly since the extension application, the technician may recommend a toning gloss or color adjustment on either the extension hair or the natural hair to keep the match accurate. This is a common adjustment for brides who had extensions placed more than 4 weeks before the wedding.
Warning Signs That Require Professional Attention
Don’t wait for the maintenance appointment if you notice any of these:
Slipping Bonds or Loose Tape
If a tape-in bond feels loose when you press on it, or if the tape row feels like it has shifted from its original position, schedule an appointment with your extension specialist rather than waiting. A slipping bond doesn’t fix itself and will continue slipping until it detaches.
Matting at the Bond Area
If you feel or see matting (hair that has tangled into a compacted mass) at or near a bond area, this needs professional clearing. Attempting to detangle severe matting without the right technique can cause the matting to get worse and can put stress on the bond attachment. Your specialist can clear this properly.
Visible Growth Gap That Needs Moving Up
A growth gap in hand-tied extensions becomes visible when the natural hair has grown enough that the bead row is noticeably further from the scalp than it was initially. This is a normal part of extension maintenance; it just means the row needs to be moved up at the maintenance appointment.
Color Match Change as Natural Hair Grows
As your natural hair grows, new growth at the root can create a different color tone than the extension hair above it. If this becomes noticeable, a toning gloss on the natural hair or a color adjustment on the extension can correct it before the wedding.
The Week Before Your Wedding
The week before the wedding is the most important care week. It’s also the week where the instinct to do something extra is strongest and should mostly be resisted.
Day-by-Day Preparation: What to Focus On
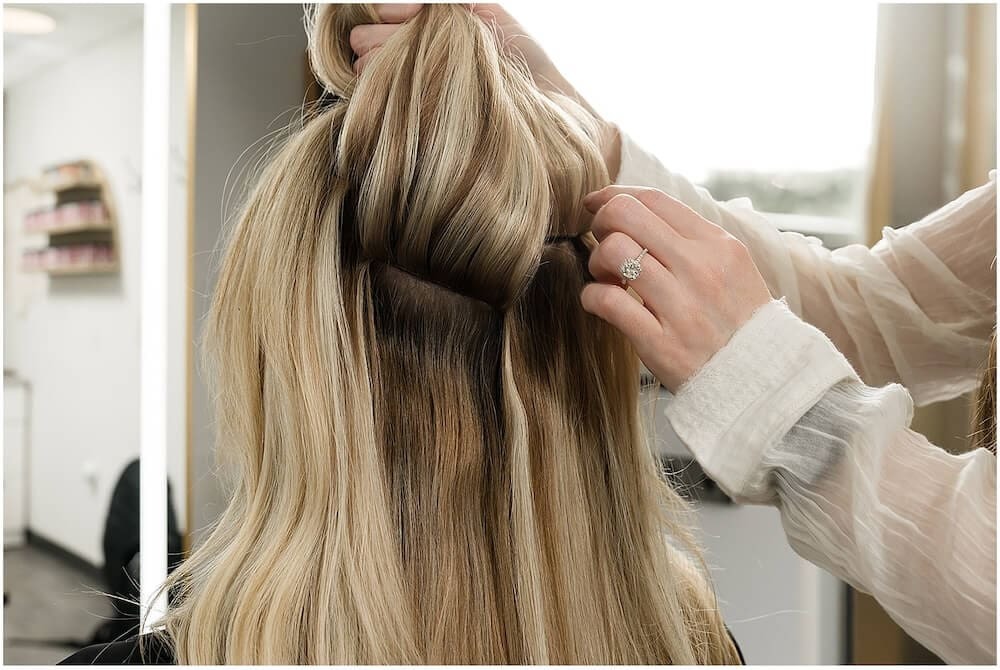
Days 7 to 4 before the wedding: normal care routine. Wash on your regular schedule, brush morning and night, no new products or treatments.
Days 3 to 2 before: last regular wash of the pre-wedding period. After this, the goal is to have the hair in a clean, settled state without any fresh product buildup that the stylist will need to work through.
Day 1 before (the night before): specific preparation covered in the next section.
What Not to Do in the Final Week
Don’t: introduce any new products you haven’t used on the extensions before, apply a deep conditioning mask root-to-tip, use a clarifying shampoo (this strips the extension hair aggressively), or start sleeping without the overnight protection routine you’ve been following.
The week before the wedding is the least appropriate time to experiment. The routine that’s been working for the past weeks should continue.
The Final Wash Before the Wedding
The final wash before the wedding morning ideally happens 24 to 36 hours before (unless your hair is naturally oily, then I’d wash the night before or the morning of), not the morning of. This gives the extension hair time to normalize after washing: the cuticle settles, any slight frizz from washing resolves, and the hair has its best movement and response to styling products when it’s not freshly washed.
Exceptions: if your stylist has specifically instructed you to arrive with freshly washed hair, or if your hair produces a lot of oil quickly and needs day-of washing, follow your stylist’s specific guidance over this general guideline.
The Night Before Your Wedding
Clip-In Care: Clean, Dry, and Ready
The night before the wedding, your clip-ins should be clean (washed within the past week if they’ve been used recently), completely dry, brushed out, and stored flat in their case ready to go. Hand them to your stylist at the start of the appointment.
If your clip-ins feel dry or the hair is lacking movement, a small amount of a lightweight leave-in conditioner or a light oil applied to the mid-shaft and ends (not the clips, not the weft base) can restore some softness. Apply it the night before so it has time to absorb before the morning.
Tape-In and Hand-Tied: The Overnight Routine
The night before the wedding: brush through the extensions gently, start at the ends and work upward, using your extension brush. Once the hair is tangle-free, gather it into a loose braid or loose bun with a silk scrunchie, and switch to your silk or satin pillowcase if you haven’t already.
Don’t apply any new products the night before. Don’t oil the ends. Don’t deep condition. The goal is clean, product-free, detangled hair that the stylist can work with immediately.
Products to Apply (and What to Skip)
Night before: nothing, or at most a very light finishing spray on the ends if the hair is particularly dry. Skip everything else.
The instinct to add extra moisture, extra product, or extra treatment the night before is understandable and almost always counterproductive. Well-cared-for extensions over the past weeks will be in good shape without a last-minute intervention. And over-treated hair the morning of the wedding adds to the preparation work, not subtract from it.
Your wedding day stylist will add what’s needed to ensure polished extensions.
The Morning of the Wedding
Clip-In: What Your Stylist Needs From You
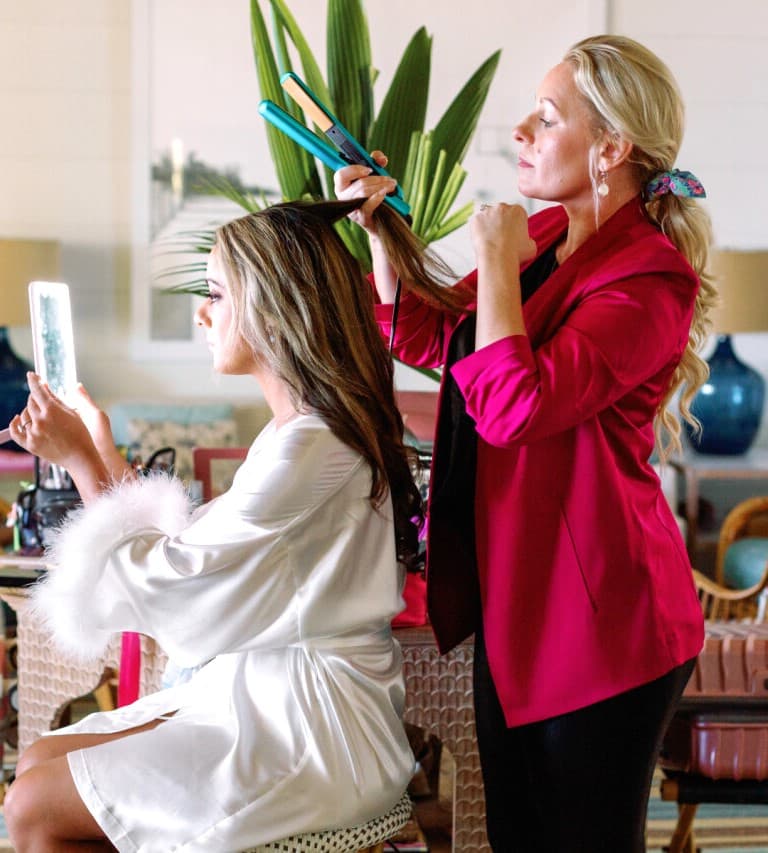
Arrive with your clip-in extensions with you (not in your bag, but accessible). Your stylist will need the wefts before or during the styling appointment. Tell them the clip-in application is part of the planned look if they don’t already know.
Your natural hair should arrive in the state your stylist specified, typically clean and dry from the day before.
Pre-Applied Extensions: Arriving Ready
For tape-in and hand-tied extensions, arrive with your hair in the overnight braid or bun you’ve been sleeping in. Your stylist will take it down and assess the state of the extensions before beginning the styling process. Arriving with hair that’s already down and possibly tangled from an unprotected night is harder to start from.
Don’t do your own blowout or try to pre-style before the appointment. Let your stylist start from the natural state.
What to Tell Your Stylist About How the Extensions Have Been Behaving
The morning of the wedding, tell your stylist anything that’s been different about the extensions in the days leading up: any loose bonds you noticed, any areas of unusual tangling, any dryness or texture change in the extension hair, or any areas where the color match seems off. This information lets them address those specific areas before they become part of the style.
Frequently Asked Questions
How do you care for hair extensions before a wedding?
The key steps depend on extension type. For tape-ins and hand-tied: wash 2 to 3 times per week with sulfate-free shampoo, condition from mid-shaft to ends only, detangle from ends upward before washing, use heat protectant before heat styling, avoid oil products near the bond area, sleep in a loose braid on a silk pillowcase, and schedule a maintenance appointment 7 to 10 days before the wedding. For clip-ins: remove them before sleeping, wash after every 10 to 15 wearing hours, and store flat.
How often should I wash tape-in hair extensions before my wedding?
Two to three times per week is the maximum. Over-washing stresses the bond area and dries the extension hair faster than normal wear does. Use a sulfate-free, bond-safe shampoo, work it through gently without scrubbing the tape rows, and condition from the mid-shaft down only.
Can I use heat styling tools on bridal hair extensions?
Yes, with appropriate precautions. Keep heat tools at or below 350°F and always apply a heat protectant first. Avoid positioning heat tools directly on or over bond areas. Repeated high-heat styling degrades extension hair faster than lower temperatures, and the extensions need to be in their best condition for the wedding morning.
What products should I avoid with tape-in hair extensions?
Avoid oil-based products near the root or tape bond area (argan oil, moroccan oil, jojoba, coconut oil, and similar), deep conditioning masks applied root-to-tip, dry shampoo sprayed at the bond area, and clarifying shampoos. The week before the wedding, keep products minimal so the stylist has a clean, product-free surface to work with.
When should I schedule a maintenance appointment before my wedding?
7 to 10 days before. This allows enough time to address any issues (slipping bonds, matting, color refresh) while leaving the extensions settled and in peak condition for the wedding morning.
How do I prepare my extensions the night before and morning of the wedding?
Night before: brush through gently, gather into a loose braid or bun with a silk scrunchie, sleep on a silk pillowcase. Don’t apply new products. Morning of: for clip-ins, arrive with them accessible and your natural hair in the state your stylist specified. For pre-applied extensions, arrive with your hair in the overnight protective style your stylist can take down and begin working from.
Questions About Your Extensions? Talk to Phairis Luxury
Rebecca Mousseau and the Phairis Luxury team work with all extension types for bridal clients and can advise on care, maintenance scheduling, and morning-of preparation specific to your extension type and your wedding venue.
Reach out to check availability for your date. And if you’re still in the research phase, the extension guides below cover the full decision:
To be iconic?
Ready
I'm excited to hear all about your wedding/Event day. Have a question about a booking and hair styling sessions? View our services and talk to us, also dont forget to check our portfolio
